The IES Lighting Library contains more than 100 ANSI-approved lighting standards, yet a room can still look brightly lit while a floor mirror shows a dark face, a false jacket color, and a glaring ceiling lamp. The practical question is not simply how much light to add. It is where the observer, mirror, and luminous aperture sit in relation to one another.
Nighttime electric-light geometry also differs from placing floor mirrors for daylight without glare. After dark, brightness becomes useful only when light reaches the user vertically without sending the source back into the user’s eyes.
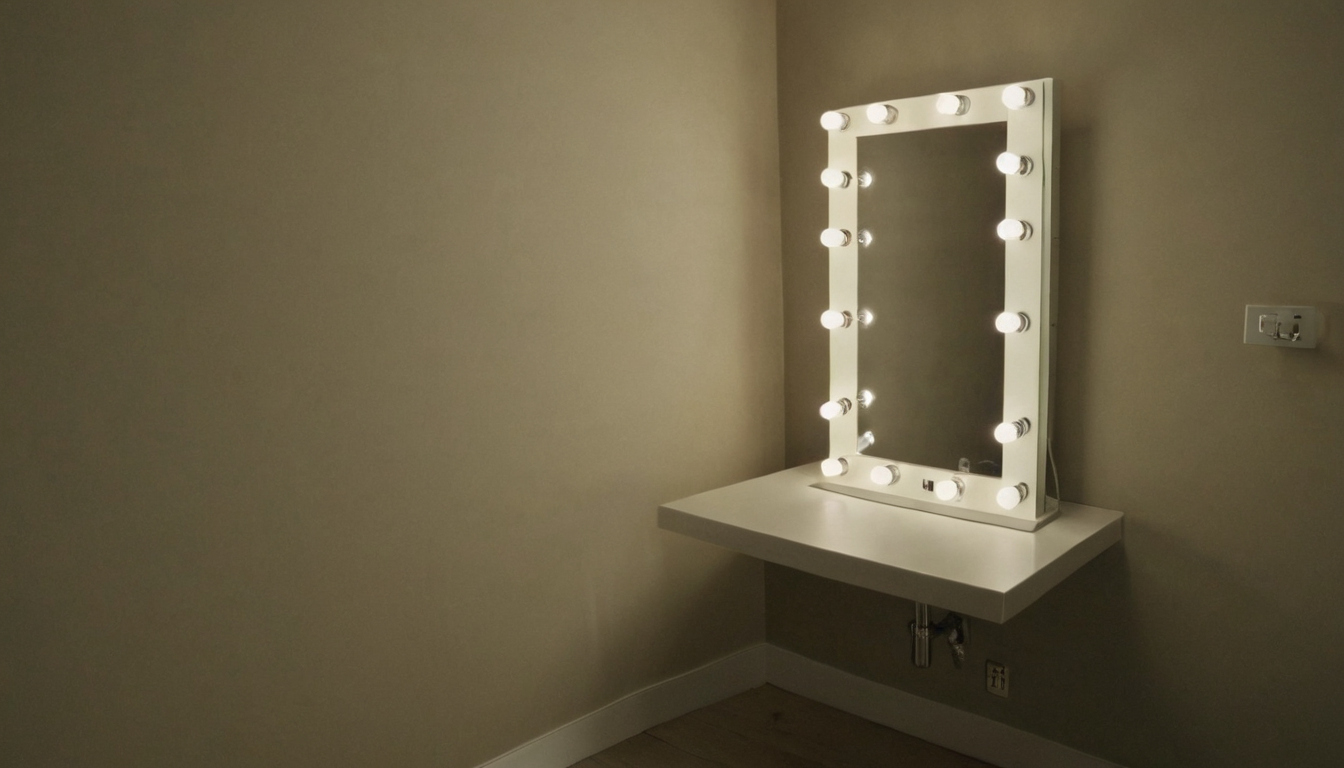
Lighting a Dressing Area with a Floor Mirror: Facial Visibility Without Reflected Glare shown as an editorial planning reference.
How much vertical light do floor mirrors need for dressing and grooming?
Floor mirrors need enough maintained vertical illuminance to reveal the face and torso from the intended viewing position, not merely enough horizontal light to brighten the floor. The appropriate target depends on the task, user range, mirror angle, surface reflectance, clothing color and surrounding light.
Vertical illuminance at face height is the relevant measurement
A horizontal meter reading cannot prove facial visibility because ceiling light may produce a bright floor while leaving the eyes and chin in shadow. Hold the illuminance meter vertically at each intended user height, with the sensor facing the mirror and approximately parallel to the face. Record average, minimum and left-to-right readings under maintained conditions, including normal dimmer settings and expected output reduction over time.
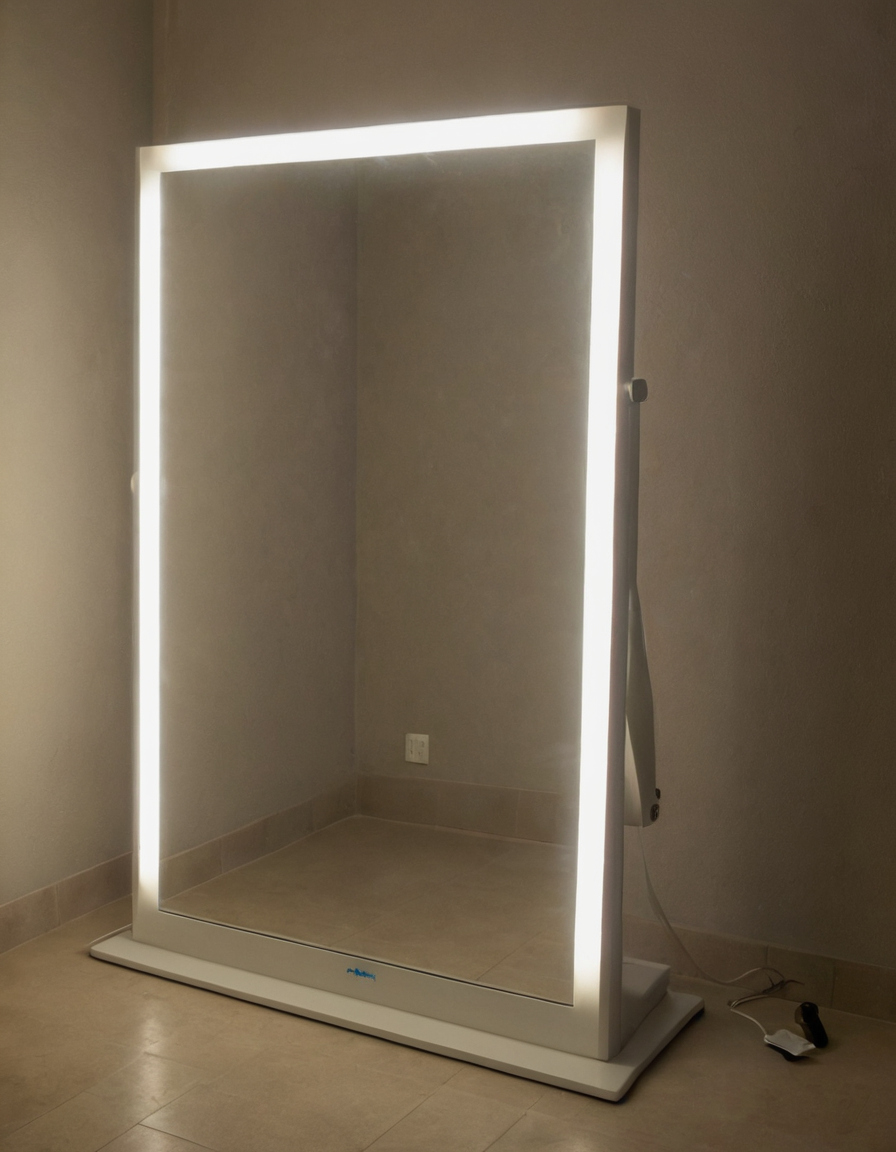
How much vertical light do floor mirrors need for dressing and grooming shown as an editorial planning reference.
| Measurement plane | Meter orientation | Visible failure | Corrective action |
|---|---|---|---|
| Face | Vertical, facing mirror | Dark eyes or uneven cheeks | Add broader side or frontal light |
| Chest | Vertical, facing mirror | Jacket color or texture disappears | Extend the luminous aperture downward |
| Waist | Vertical, facing mirror | Strong torso-to-leg contrast | Improve vertical distribution |
| Lower body | Vertical, facing mirror | Trousers and shoes merge into shadow | Add controlled ambient or low-level fill |
Project teams should obtain the current task recommendation through the IES platform rather than inventing a universal lux value. Its illuminance information is updated and supported by cross-references. The IES official standards roadmap directs specifiers away from superseded references and maps the former DG-1-16 color guide to LS-5-21. The SLL publication catalogue lists its Code, Handbook, Lighting Guide 0 introduction and Lighting Guide 9 for communal residential buildings, but the public list supplies no universal dressing-area value.
Facial visibility requires controlled modeling rather than shadowless brightness
Occasional outfit checks tolerate less demanding illumination than makeup, shaving or close color matching. Detailed grooming needs a higher and more even minimum, but eliminating every shadow can make facial form look flat. Compare overhead-only, paired-side and broad-frontal arrangements while checking eye sockets, nose shadow, the underside of the chin and side-to-side readings.
Where seated access is required, repeat measurements at seated face and torso heights. The 2010 ADA Standards specify a 30 by 48 inch clear floor space for wheelchair positioning and place accessible dining and work surfaces between 28 and 34 inches high, where those provisions apply. In damp dressing areas, the Environmental Protection Agency advises correcting condensation and wet spots promptly. Paints, varnishes, cleaning products, building materials and furnishings can also emit volatile organic compounds, so finish selection and ventilation belong in the installation plan. Once useful vertical light is established, the next risk is whether its bright aperture appears in the mirror.
Reflected glare at floor mirrors is a source-positioning problem
Reflected glare is controlled by keeping luminous apertures outside the mirror-to-eye reflection path, then choosing broad, shielded sources that appear less harsh. The safe position depends on mirror tilt, user height and viewing distance.
The observer–mirror–luminaire sightline predicts whether a lamp will appear
The luminous aperture is the light-emitting area, such as an exposed lamp, visible LED points or a glowing diffuser. It is not the fixture’s decorative housing.
- Mark standing positions: place removable tape where users normally inspect their face, torso and complete outfit.
- Test realistic eye heights: move a temporary point source around proposed wall and ceiling locations while each user watches the mirror.
- Trace the reflection: if the source appears, move, shield or enlarge the emitting area before wiring is fixed.
- Check the complete aperture: a concealed lamp can still glare when LED points or a bright diffuser remain visible.
The IES describes its standards cross-reference as the official roadmap between past documents and current standards. During a physical mock-up, the EPA recommends increased ventilation when paints, adhesives or other products emitting volatile organic compounds are used indoors.
Mirror tilt changes the glare zone more than mirror width alone
A vertical wall-mounted mirror commonly directs the reflected sightline toward the opposing wall. A leaning mirror rotates that zone upward and may reveal downlights. Cheval and adjustable floor mirrors require testing at both tilt limits because later movement can undo commissioning. Measure the installed angle rather than trusting a product photograph, then select a side-light arrangement that stays outside the mapped glare zone.
Side lighting usually gives floor mirrors better facial visibility than overhead lighting alone
Paired side lights or a broad mirror-adjacent source usually illuminate the face more evenly than a central ceiling light alone. Narrow beams, exposed lamps, nearby storage and uneven mounting can still produce glare or unbalanced shadows.
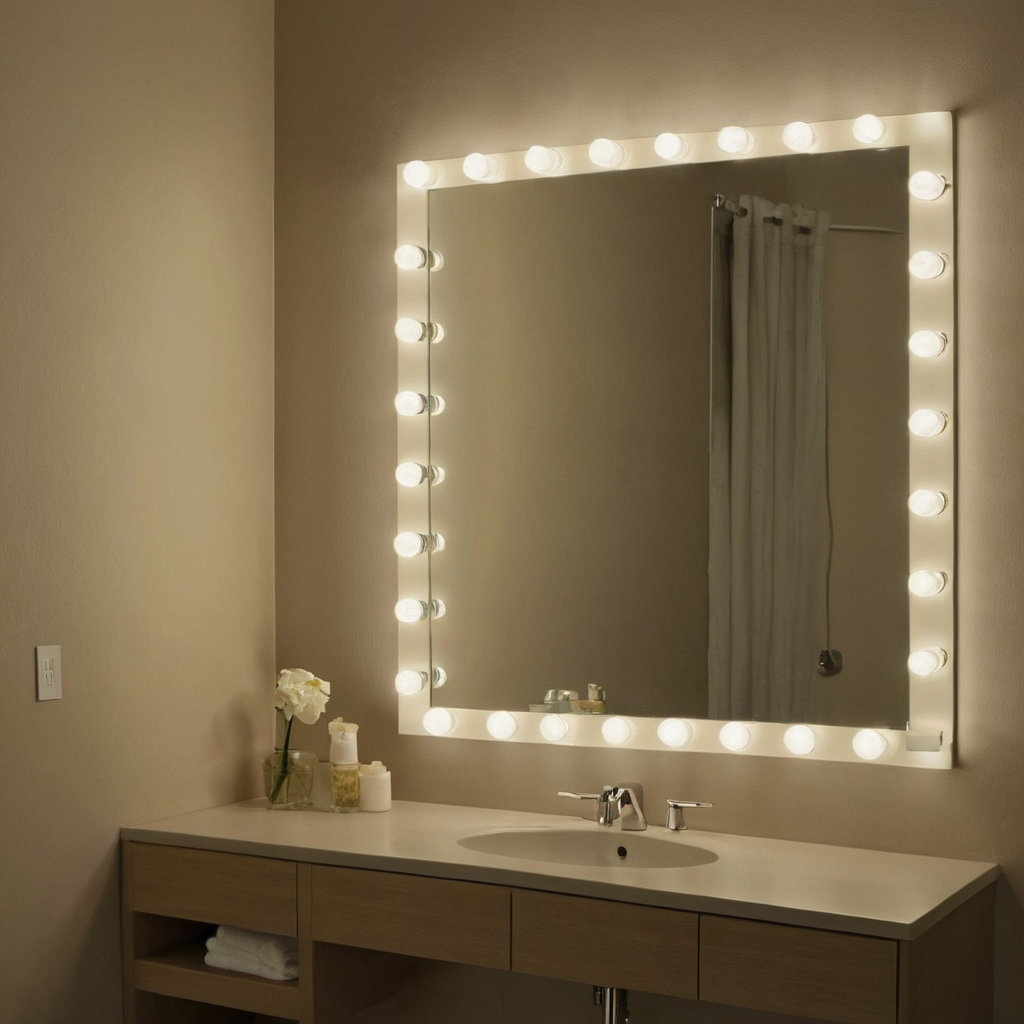
Side lighting usually gives floor mirrors better facial visibility than overhead lighting alone shown with practical context cues.
A configuration table should compare visibility, glare risk, installation difficulty, and cost
- Paired diffused side lights: Choose these for balanced facial modeling. Two mounting positions and coordinated wiring increase installation work, but broad apertures control contrast better than exposed lamps.
- Vertical linear lights: Consider these where the wall can accept long fixtures. Measure face, chest, waist and lower-body levels because fixture length alone does not guarantee uniformity.
- Broad frontal light: Use a diffused source near the viewing position where side walls are unavailable. Confirm that its emitting surface remains outside the reflected sightline.
- Portable retrofit lights: Use plug-in sconces or floor lamps for testing and renter-friendly installations. Visible cables, unstable placement and exposed bulbs limit their suitability for shared areas.
Comparisons should hold mirror size, viewing distance, ceiling height, beam spread and surface reflectance constant. Wardrobe doors, shelves, curtains and the standing user can block light, so an unobstructed calculation is not enough.
Overhead lighting can remain useful when it is supplementary and shielded
Ceiling lighting can support circulation and reveal shoulders and lower clothing, but it should not carry the facial task alone. Prefer wide, diffused or regressed luminaires outside the reflection zone. Narrow downlights often deepen eye and chin shadows, especially beneath low ceilings or against dark finishes. The chosen arrangement must also render colors honestly.
Floor-mirror lighting should render skin and clothing colors reliably
Floor-mirror lighting should combine a suitable correlated color temperature with documented color fidelity. CRI alone cannot qualify a fixture used to compare skin tones, cosmetics, dark fabrics and saturated colors.
Floor-mirror lighting should render skin and clothing colors reliably shown as an editorial planning reference.
CRI, R9, and TM-30 answer different color-quality questions
Color rendering index compares how faithfully a source reveals colors against a reference illuminant. The product value commonly called CRI is CIE Ra. Correlated color temperature describes apparent warmth or coolness, not fidelity. The CIE calculation uses a black-body reference below 5000 K and daylight-based reference data above that point.
R9 describes saturated-red performance, which affects skin, cosmetics and red textiles. TM-30 adds fidelity, gamut and hue-shift information, helping specifiers distinguish lamps with similar Ra values but different spectral behavior. Request accredited laboratory data rather than accepting an unsupported retail label. IES directs users away from previous handbook references, while the SLL catalogue identifies guidance for retail lighting, surface reflectance and colour, and electric-light controls.
Mixed color temperatures can make the mirror view misleading
A warm side light, cool ceiling lamp and wardrobe strip can make one navy jacket appear as three different blues. Specify compatible color temperatures across fixtures used together, then check black, navy, white, red and several skin tones at full output and through the intended dimming range.
Tunable-white fittings need coordinated controls and repeatable scenes rather than independent adjustments that drift apart. Circuit groups should also let users isolate conflicting bedroom, wardrobe or bathroom lamps. Product data narrows the choice, but only a full-scale mock-up reveals the actual reflection.
A full-scale mock-up is the safest way to position lights around floor mirrors
Before electrical rough-in, test the final mirror angle, likely standing positions and safely supported temporary luminaires. Run the test after dark and from several eye levels because daylight, an empty room or one observer can hide glare.
Test the mirror from every realistic eye height and standing mark
- Mark close, normal and distant viewing positions. Include realistic eye heights for adults, children and seated users while preserving clear access.
- Record whether the complete luminous aperture, part of it or only diffuse brightness appears. Note facial shadows, clothing shadows, color shifts, flicker and spill toward sleeping areas.
Measure before adjusting output by eye
Use an illuminance meter suitable for commissioning. At face, chest, waist and lower-body heights, hold the sensor vertically toward the mirror. Log side-to-side values, dimmer setting, circuit state, ambient-light state and fixture warm-up condition before making changes.
The Society of Light and Lighting publishes a Code for Lighting and SLL Lighting Handbook. Consult current task guidance rather than inventing a target. A licensed electrician should manage temporary power and local compliance, and the test should be repeated after wardrobes, curtains, finishes and furniture are installed.
Fixture selection and project sequencing determine whether the lighting plan survives installation
A workable plan coordinates photometric distribution, driver location, controls, mounting support, cable routes and mirror delivery before walls close. A substituted fixture, shallow junction box, exposed LED points or altered mirror tilt can invalidate geometry already proven by the mock-up.
Specify the luminous aperture, not just the fixture’s decorative dimensions
Request IES or LDT files, output and distribution data, dimming protocol, driver requirements, mounting details and a dimensioned drawing of the emitting surface. Review a sample at full and reduced output for visible LED dots. ENERGY STAR states that qualified LED lighting uses at least 75 percent less energy and lasts up to 25 times longer than incandescent lighting, but efficiency cannot correct reflected glare.
Lock the mirror angle before final fixture aiming and commissioning
Confirm the mirror mounting method, restraint, adjustment range and installation tolerances before aiming luminaires. The electrician must verify local requirements for boxes, routing, controls, clearances and nearby wet locations. Record blocking, procurement lead times, substitution authority, warranty terms and replacement-driver access. Assign responsibility among the designer, electrician, mirror supplier and installer. Commission the installed geometry, not the drawing.
Floor-mirror lighting FAQ
What type of electric light is best beside a floor mirror used for dressing?
Paired diffused side lights with broad luminous apertures are usually the strongest starting point. Vertical linear fixtures can improve full-body coverage where wall space and wiring permit.